
4 Ways to Make Face Soap At Home
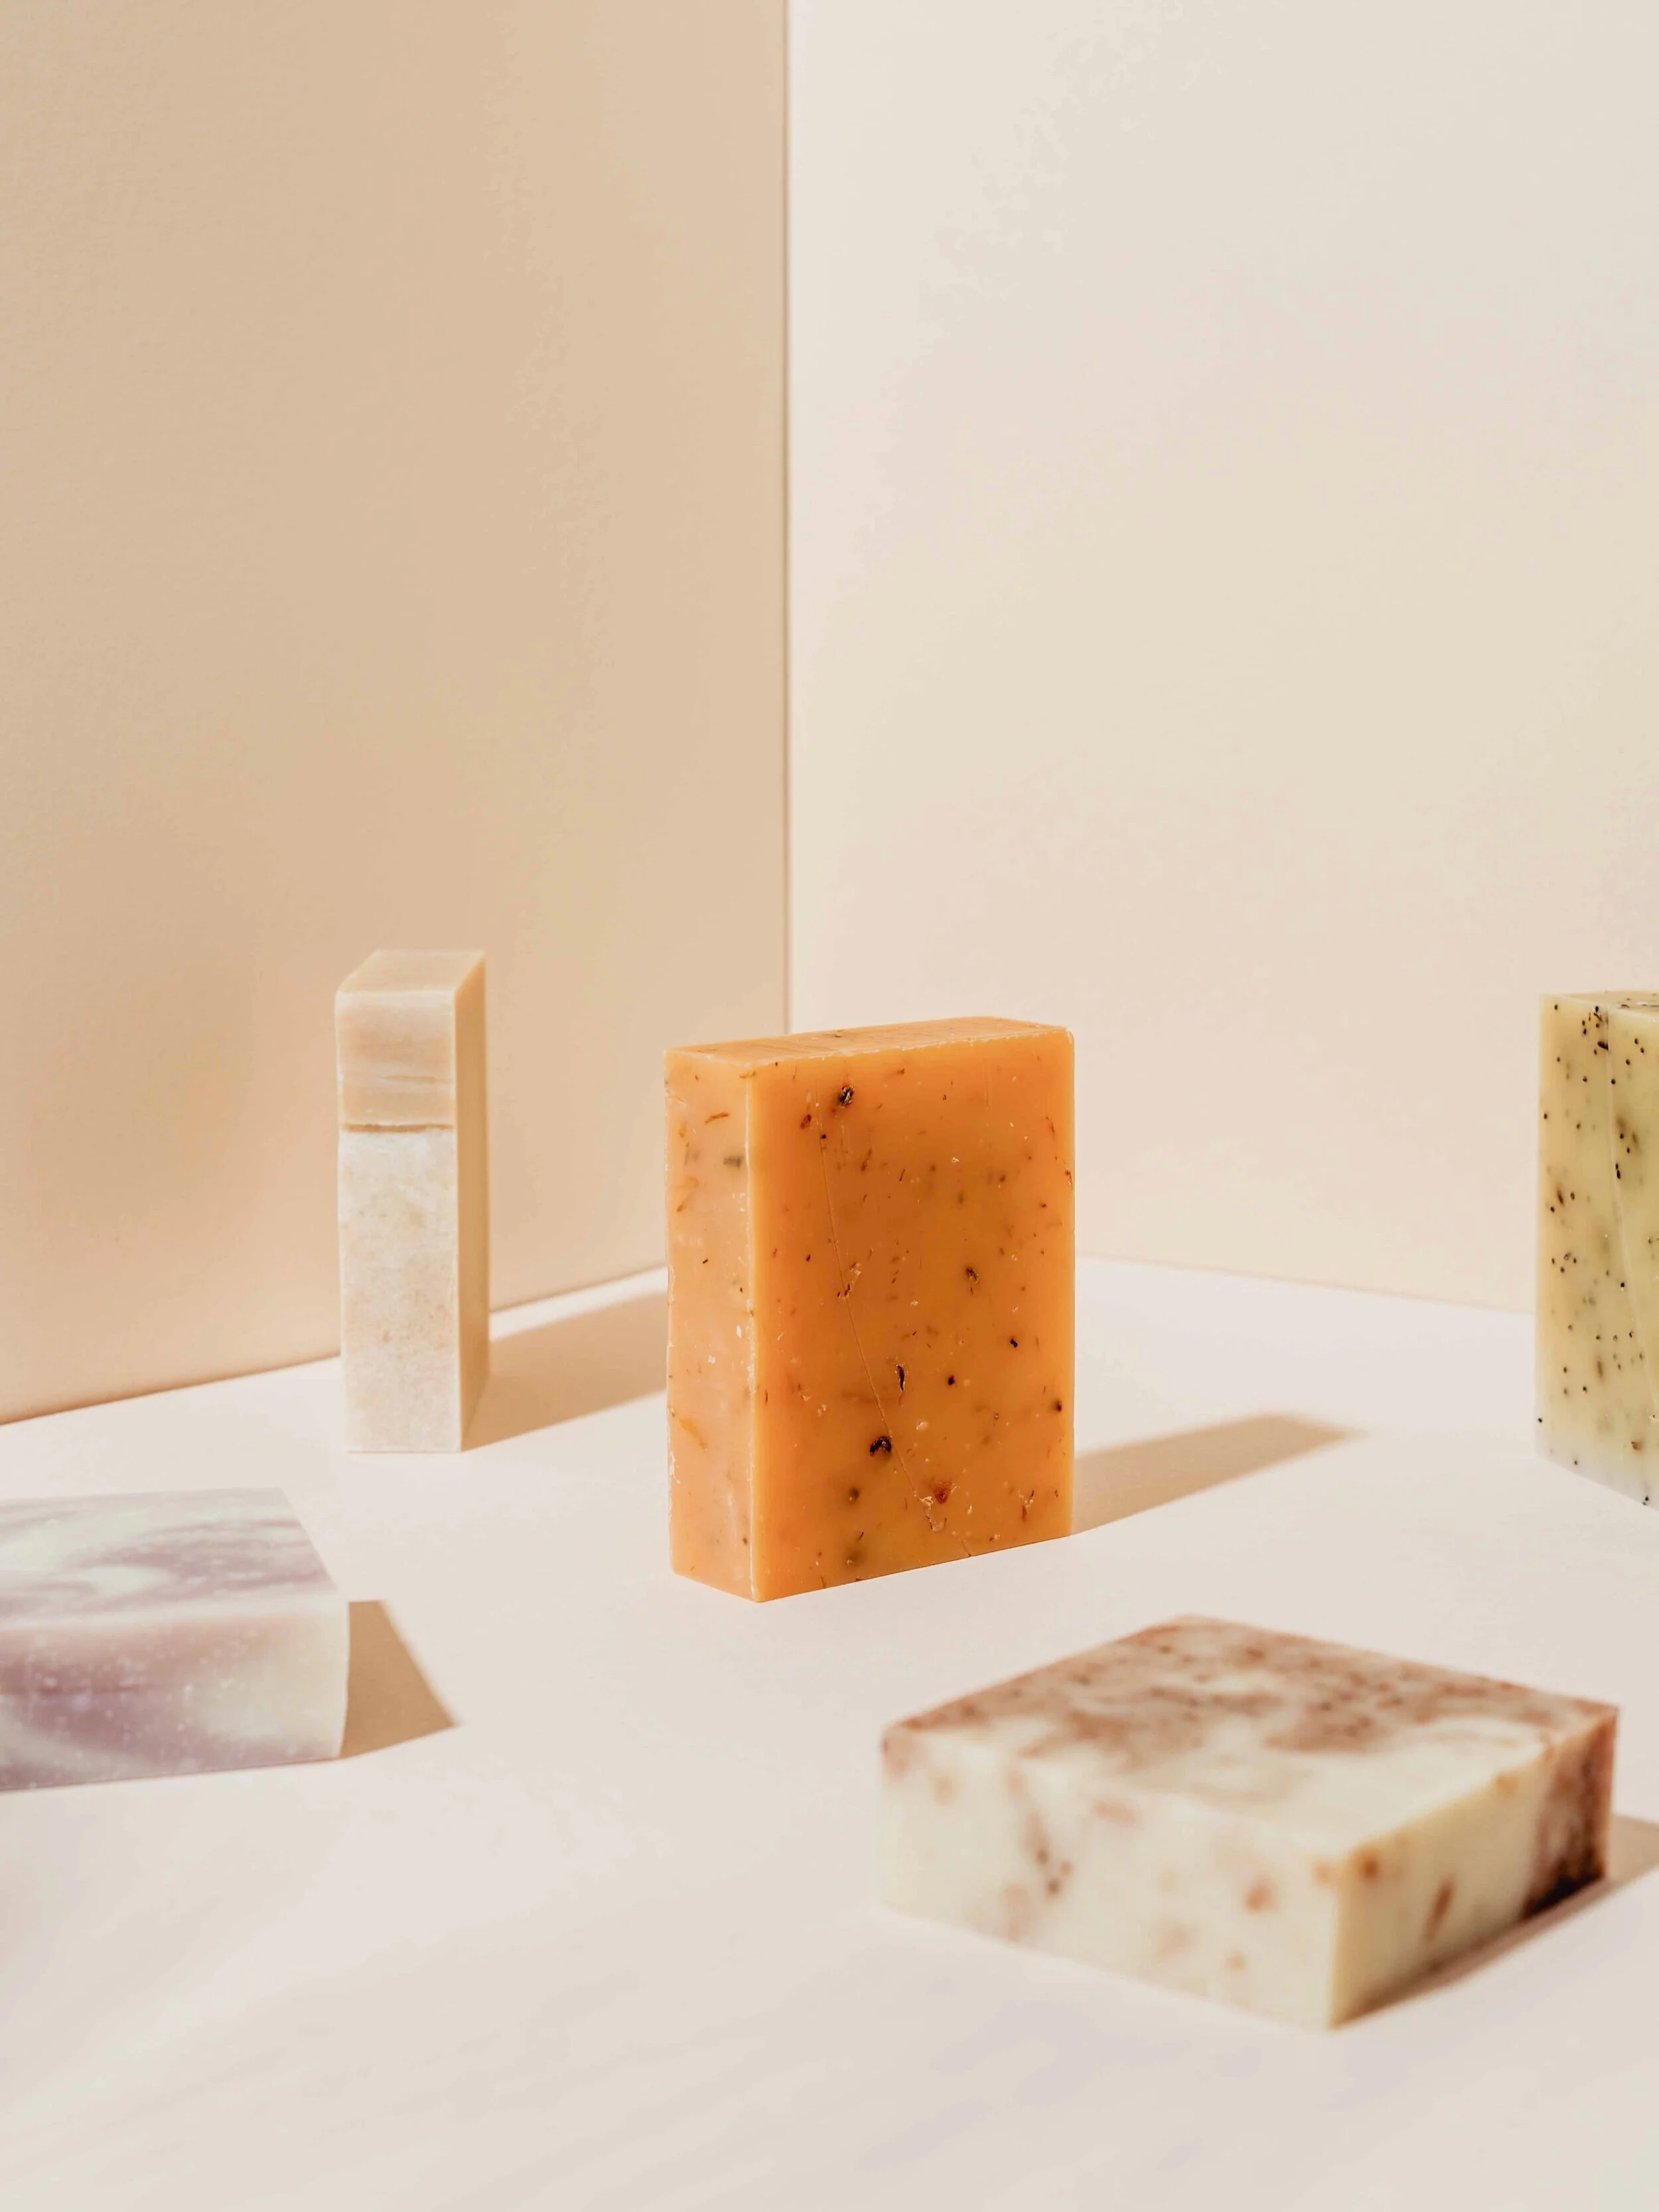
Making your own soap is a great way to save money and put fewer potentially harmful chemicals onto your skin. Face soap is an especially good project as the ingredients you choose can be tailored for your specific skin type, or what you happen to have around the house. Here are four tried and true methods for making face soaps at home.
1. Melt and Pour Method
This method involves using pre-made blocks of "melt and pour" soap base that can be found in many craft stores. After melting down the glycerin base in a double boiler, add desired essential oils, fragrance oils, colorants (if desired) and exfoliates (such as oatmeal). Once all ingredients are added, let cool before pouring into your soap molds. This method is easy and fast, but the quality of the base needs to be taken into consideration.
2. Cold Process Method
This is a more traditional way of making soap and requires a bit more patience as it takes 4-6 weeks for the soap to cure before it can be used. To make cold process soap, you will need lye (sodium hydroxide), which must be handled with care, water and vegetable oils such as olive oil or coconut oil. For facial soaps, you may want to avoid using castor oil because of its tendency to clog pores. Once all ingredients are carefully weighed out, they are combined in a large stainless steel pot over low heat until the mixture reaches “trace”, which is when the mixture thickens to a pudding-like consistency. From there, you can add essential oils, fragrance oils, colorants and exfoliates before pouring into molds for curing.
3. Hot Process Method
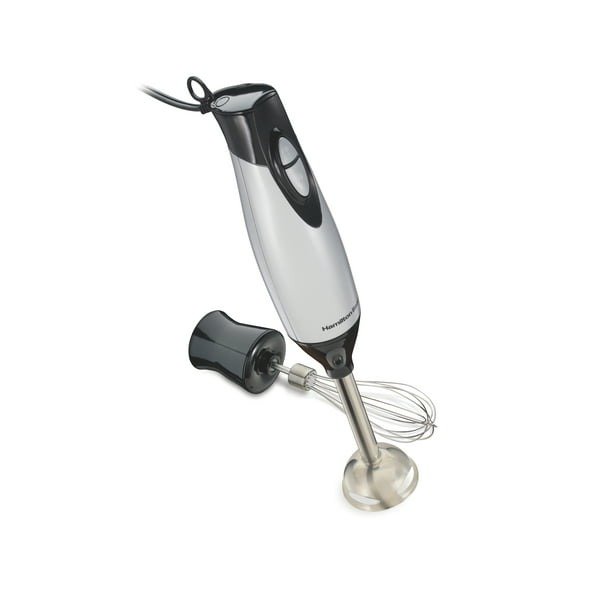
This method is very similar to cold process soap making but instead of waiting 4-6 weeks for your soaps to cure, they are ready within 24 hours! This method requires all the same ingredients as cold process soap making but with hot process you will need an immersion blender or stick blender to blend the soap mixture in between steps. The Hamilton Beach hand blender features a sturdy stainless-steel whisk and a blending wand and comes complete with dishwasher-safe attachments that make clean-up quick and easy. The most important thing with this method is safety! Be sure to use proper eye protection, gloves and ventilation when working with lye.
4. “No Lye” Method

This method uses a pre-made soap base and is the safest of all four methods as it does not involve working with lye. It also gives you more control over the quality of your ingredients as you can choose which all natural soaps to use in your recipes. To make a no lye soap, first melt down your pre-made soap base either in the microwave or double boiler and add any desired essential oils, fragrance oils, colorants and exfoliates once melted. Pour into molds and let cool before using. From this Velona Soap Base you can create around 6 custom soap bars by adding your favorite extra ingredients for the perfect shape, color, and scent